2022. október 2., vasárnap

Back to Exchange - sort of...

Who know me from the past, on my professional side knows that I used to be a Windows guy. Working mainly with Microsoft Exchange and Active Directory as administrator, designer, time-to-time programmer.
Those days are passed. Today I mostly working with Linux as a DevOps in cloud. I changed the Exchange Management Shell, Transport Agents, Management Consoles to CI/CD tools, IaC, Azure, AWS, git repos, artifactories, Kubernetes, and many more.
Most of the times I'm working for a single entity as employee or contractor. On the side of this eventually I have customers of my own.

Back in 2019 I built a solution for one of my own customers, to download e-mails from Office 365 to a folder via POP3. I used Linux, getmail (using POP3) and samba for it. Actually it was a second incarnation of a previous project doing the same in Microsoft Exchange, with a transport agent (the transport agent concept was removed in Office 365).
A week ago, my friend who took over the role of the external consultant at this company called me, that even he warned those guys months ago, they didn't take a step. The issue is that Microsoft disable the basic authentication on POP3, IMAP4 and SMTP (https://learn.microsoft.com/en-us/exchange/clients-and-mobile-in-exchange-online/deprecation-of-basic-authentication-exchange-online).

Asked me to resolve it. This means, the authentication need to be switched from basic to oauth2
Here is the finally working solution. I had some issues needed to resolve during the journey. I will manly left out the detours, to keep the description clear. I done this on an Ubuntu 18.04LTS (the upgrade wasn't on the list this time)

1. The software
The original getmail exists as a package in the Ubuntu, doesn't support oauth2, so it need to be replaced:
Remove the current getmail:
sudo apt-get purge getmail
The getmail6 (https://getmail6.org/) what is a fork of the original getmail and support oauth2 is a python3 package. Even the python3 is part of the base installation of the Ubuntu, the pip is not:
sudo apt-get install python3-pip
With the pip3 we can install the getmail6:
sudo pip3 install getmail6

2. Azure setup
We need an Enterprise Application for logging in with oauth2 to the Exchange online (the description here is based on the description in the getmail6 documentation https://github.com/getmail6/getmail6/blob/master/docs/getmailrc-examples).
Login to the azure console (https://portal.azure.com/) - don't be afraid if you never used it. It will let you in with your Office 365 account.
Select Manage Azure Active Directory (use the search if needed)
Select App Registrations
Select New Registration
Enter a project name, eg "getmail".
Select Accounts in this organizational directory only (Single tenant) from Supported account types
For Redirect URI type, select Web - missing from the getmail6 documentation
Enter http://localhost for Redirect URI
Select Register
From the Overview page take a note of the Application (client) ID and the Directory (tenant) ID.

Next create a secret by selecting Certificates and secrets
Select New client secret
Description: password
Expires: select preferred expiry date
Make a note of:
client_secret
It is available by selecting Value - Be aware! You can see this only once. You can't get the value after you navigate off this page ever.

Next add permissions:
Select API permissions, then Add a permission.
Select Microsoft Graph
Select Delegated permissions
Select the following permissions:
- IMAP.AccessAsUser.All
- POP.AccessAsUser.All
- SMTP.Send
Select Add permissions

3. Create authentication json
We need an autentication json file, will be used by the getmail. We need this on the linux machine, to be present. This also need to be writable by the user running the getmail as the content also managed (and frequently canhged) by the getmail. I called it o365,json, but it is up to you:

{"scope": "https://outlook.office365.com/IMAP.AccessAsUser.All https://outlook.office365.com/POP.AccessAsUser.All https://outlook.office365.com/SMTP.Send offline_access",
  "user": "<Office 365 user (email)>",
  "client_id": "<client_id>",
  "client_secret": "<secret>",
  "token_uri": "https://login.microsoftonline.com/<tenant_id>/oauth2/v2.0/token",
  "auth_uri": "https://login.microsoftonline.com/<tenant_id>/oauth2/v2.0/authorize",
  "redirect_uri": "http://localhost"}

The <Office 365 user (email)>, <client_id>, <tenant_id>, <secret> need to be replaced with the text you previously noted.

4. Setup Azure AD connection with your json
I'm using an Ubuntu vm without gui (headless), setting up everything from my Windows desktop. This step according to the getmail6 documentation, need a browser running on the same box where the getmail is installed, what doesn't exists.
The problem is that during the authentication process in the browser, call back to the getmail authentication backend, in our case to the http://localhost (specially to the 8083/tcp port). As in our case the machine running the browser, and the machine running the getmail, two different boxes, we need to do some tricks to resolve it.
Making the Ubuntu box available on the network will not easily resolve the issue as the Azure AD app registration only allows unencrypted http for the localhost. Any other cases you would require a TLS certificate on the Linux box, and my best guess, some modification in the getmail's python code also.
I'm using PuTTY terminal emulator accessing the Linux box.
What I done the resolve this problem, that I redirected the 8083 port of the remote Linux to my Windows machine.
Open the PuTTY
In the Category box under the Connection expand SSH
Select Tunnels
Into the Source port write 8083
Into the Destination write: 127.0.0.1:8083
Select Add
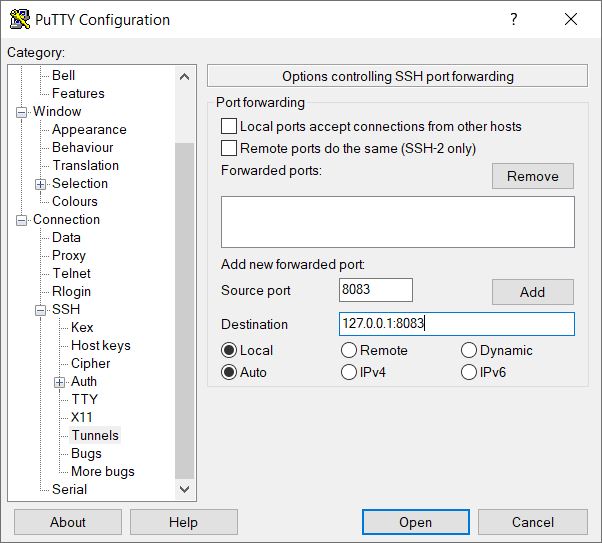
In the Category box select the Session
Type the Host Name as usual and select Open.

5. Execute Azure AD connection
After logged into the Linux box, we need to execute the following:
getmail-gmail-xoauth-tokens --init <full path of the json file created>
This give back an URL what need to be copied into a browser. After the Office 365/Azure login we get a Permissions requested screen, what need to be accepted.
This call back to the Linux box and insert the security access tokens to the json file created previously. The security link between the getmail and the Office 365 now established

6. Setup the getmailrc file
We need to create a getmailrc file (a text file with a name of your choice placed to the .getmail folder)
The retriever session need to look like this:

[retriever]
type=SimpleIMAPSSLRetriever
use_xoauth2 = True
server=outlook.office365.com
username=<Office 365 user (email)>
password_command=("getmail-gmail-xoauth-tokens", "<full path of the json file created>")

Note:
At the time of writing the SimplePOP3SSLRetriever throw an error while try to access mail, so we should stick to the SimpleIMAPSSLRetriever.
For the other sections and further configuration, running, scheduling the getmail consult with the documentation, as it is out of the scope of this article.

2022. szeptember 25., vasárnap

Analog meter resistor sizing

Yesterday surfaced a question regarding sunt and resistor divider sizing for analog panel meters.

Actually I was a bit rude, while answering as I feel, that if somebody unable to calculate a sunt or a resistor divider for a panel meter, not the best idea to start to repair audio amplifiers.

Anyway, I think, I need to apologize for this. If you jump to electronics, you need to start somewhere.

The question: calculate a divider for 15V and a sunt for 30A. As we figured out, it needed for two unknown meters.

To replicate the problem, I picked an analog meter from my own parts collection, to show, how to do this.

First you need to know the parameters of the meter. Specially you need two things:

The DC resistance of the meters coil

The current needed for the full scale

First, I measured the DC resistance. Yes, I know, it is not a gentile thing to directly connect a panel meter to an ohm meter, but it probably will not kill it, and we will have the figure needed:


For measuring the current needed for the full scale you need a power supply (or some kind of battery), an amper meter able to measure in sub mA range, the meter to be measured and a potentiometer. For sizing the potentiometer you need to take into consideration that the analog meter (Deprez) itself usually in 20-100uA range.

I choose a 10k potentiometer. The meter in question is a 100uA one (you need to guess for the first measurement, what you have), the 10k + 1.15k according to Ohm's law will give us 1.15V (U=I x R, 0,0001 A x 11500 ohm).

Connect the panel meter, the potentiometer, your own amper meter in series to the power supply. Set the power supply to a lower voltage what you calculated above, and turn the potentiometer into the highest settings before you switch it on. If your power source has current limit, set it to let say 1mA, or the lowest possible setting to protect you meters, just in case of any error.

The result: R = 1150 ohm, I = 90mA (we don't need more precise than this as the meter itself have far bigger error than our rounding)

When it is done, switch it on and turn the potentiometer until you read full scale on your analog meter:


Now we have the values needed for the divider and sunt calculation.

So the divider. I choose 20V scale. For this you need a series resistor to the meter. Back to Ohm's law:

R = U/I, 20V / 0,00009A = 222.222 ohm

Subtract the coil resistance give 221.072 ohm. I choose a 220k resistor, just to show the result:


(the resistor need to be connected to the meter in series obviously)

Next - current measurement (it is easier to calculate this way):

I choose 1A full scale (I neither have a 30A capable supply nor appropriate sunt, so 1A is good enough for the calculation) We need the voltage drop across the meter at full scale: U=I x R, 0,00009A x 1150 = 0.1035 V.
From this the sunt would be R=U/I, 0.1035 V / 1 A = 0.1035 ohm
(Yes, I left out the resistance of the coil from the calculation, but the effect of it negligible)

I choose 0.1 ohm resistor, what I have:


Actually, we are done.

The thing above is not calibrated. To create a good meter, you need to do a minimal adjustment to get as precise result as possible.

For voltage measurement choose a slightly bigger resistor than calculated, and place a 10 times bigger 10 turn trimmer in parallel with the drop resistor before you connect in series with the meter. With this you can adjust the meter (yes I know, it is not the best possible solution, but good enough for this)

For the current measurement, choose a slightly bigger sunt resistor and connect a trimmer in series with your meter before connecting it in parallel with the sunt for adjustment.

2022. augusztus 28., vasárnap

Function Generator Power Amplifier 1.

No. This is not the sane animal I wrote about in my last post. It is a different unit with a different function.

Ok. Start at the beginning.

I bought 47 Ronin unknown transformer. Wrote about it here: https://pakahuszar.blogspot.com/2022/04/new-arrivals-5.html

Started to play with those. Made some measurements:


It is clearly an SPMS transformer. It has 4:1 turn ratio (I guess it is from some kind of 48V supply. Maybe a PoE supply?), and ideally around 100kHz working frequency.
To test it further, I need to add some load to it.

And the problem starts here. My signal generator is not up to the task. So I need something for testing.

When I see such kind of requirement in front of me, I usually thinking further. I want something can be used for future tasks also.

It would be nice to have the following features:

  • Few tens of volts output (ideally 650Vpp - I'll be far from it, see later)
  • 5A maximum load on low voltages
  • DC - 1MHz bandwidth (100kHz was enough now, but for the later definitely i will need more)
  • Variable gain. Let see up to 40dB

 First, look around, what is available on the market:

Keysight 33502A (https://www.keysight.com/us/en/product/33502A/isolated-amplifier-2-channel-50-vpp.html)

Are you lost your mind? >$3500 for a bloody amplifier???

Rigol PA1011

Nice little fellow. Bit simple, but almost good enough. The ~$400 price tag, still too high

Siglent SPA1010

Same true what I wrote for the Rigol

Juntek DPA-2698

It is a real, born on Aliexpress unit. It has $89 price tag, what is acceptable. I'm just not happy with the 0.5A output power (it use two TI BUF634 diamond buffers - the diamond buffer will resurface later in this post)

Looked around on the DIY space. It looks like, this is not a widely required thing, so I only found two projects (the second one is based on the first, just added some extra circuitry on the PSU side)

https://www.dmcinfo.com/latest-thinking/blog/id/9462/low-cost-function-generator-amplifier-diy

The OPA541 would be a nice candidate, but at the end of the day, I didn't like this project, had problems with the bandwidth, etc.

Finally I decided to build/design something from starch. Actually found a circuit, in an application note. It is an operation amplifier extended with a diamond buffer designed by Jim Williams: https://www.analog.com/media/en/technical-documentation/application-notes/an47fa.pdf

The circuit in question on page 45-46 (Figure 101)

With changed semiconductor set and adjusted values, I intend to achieve 24Vpp output at 5A.

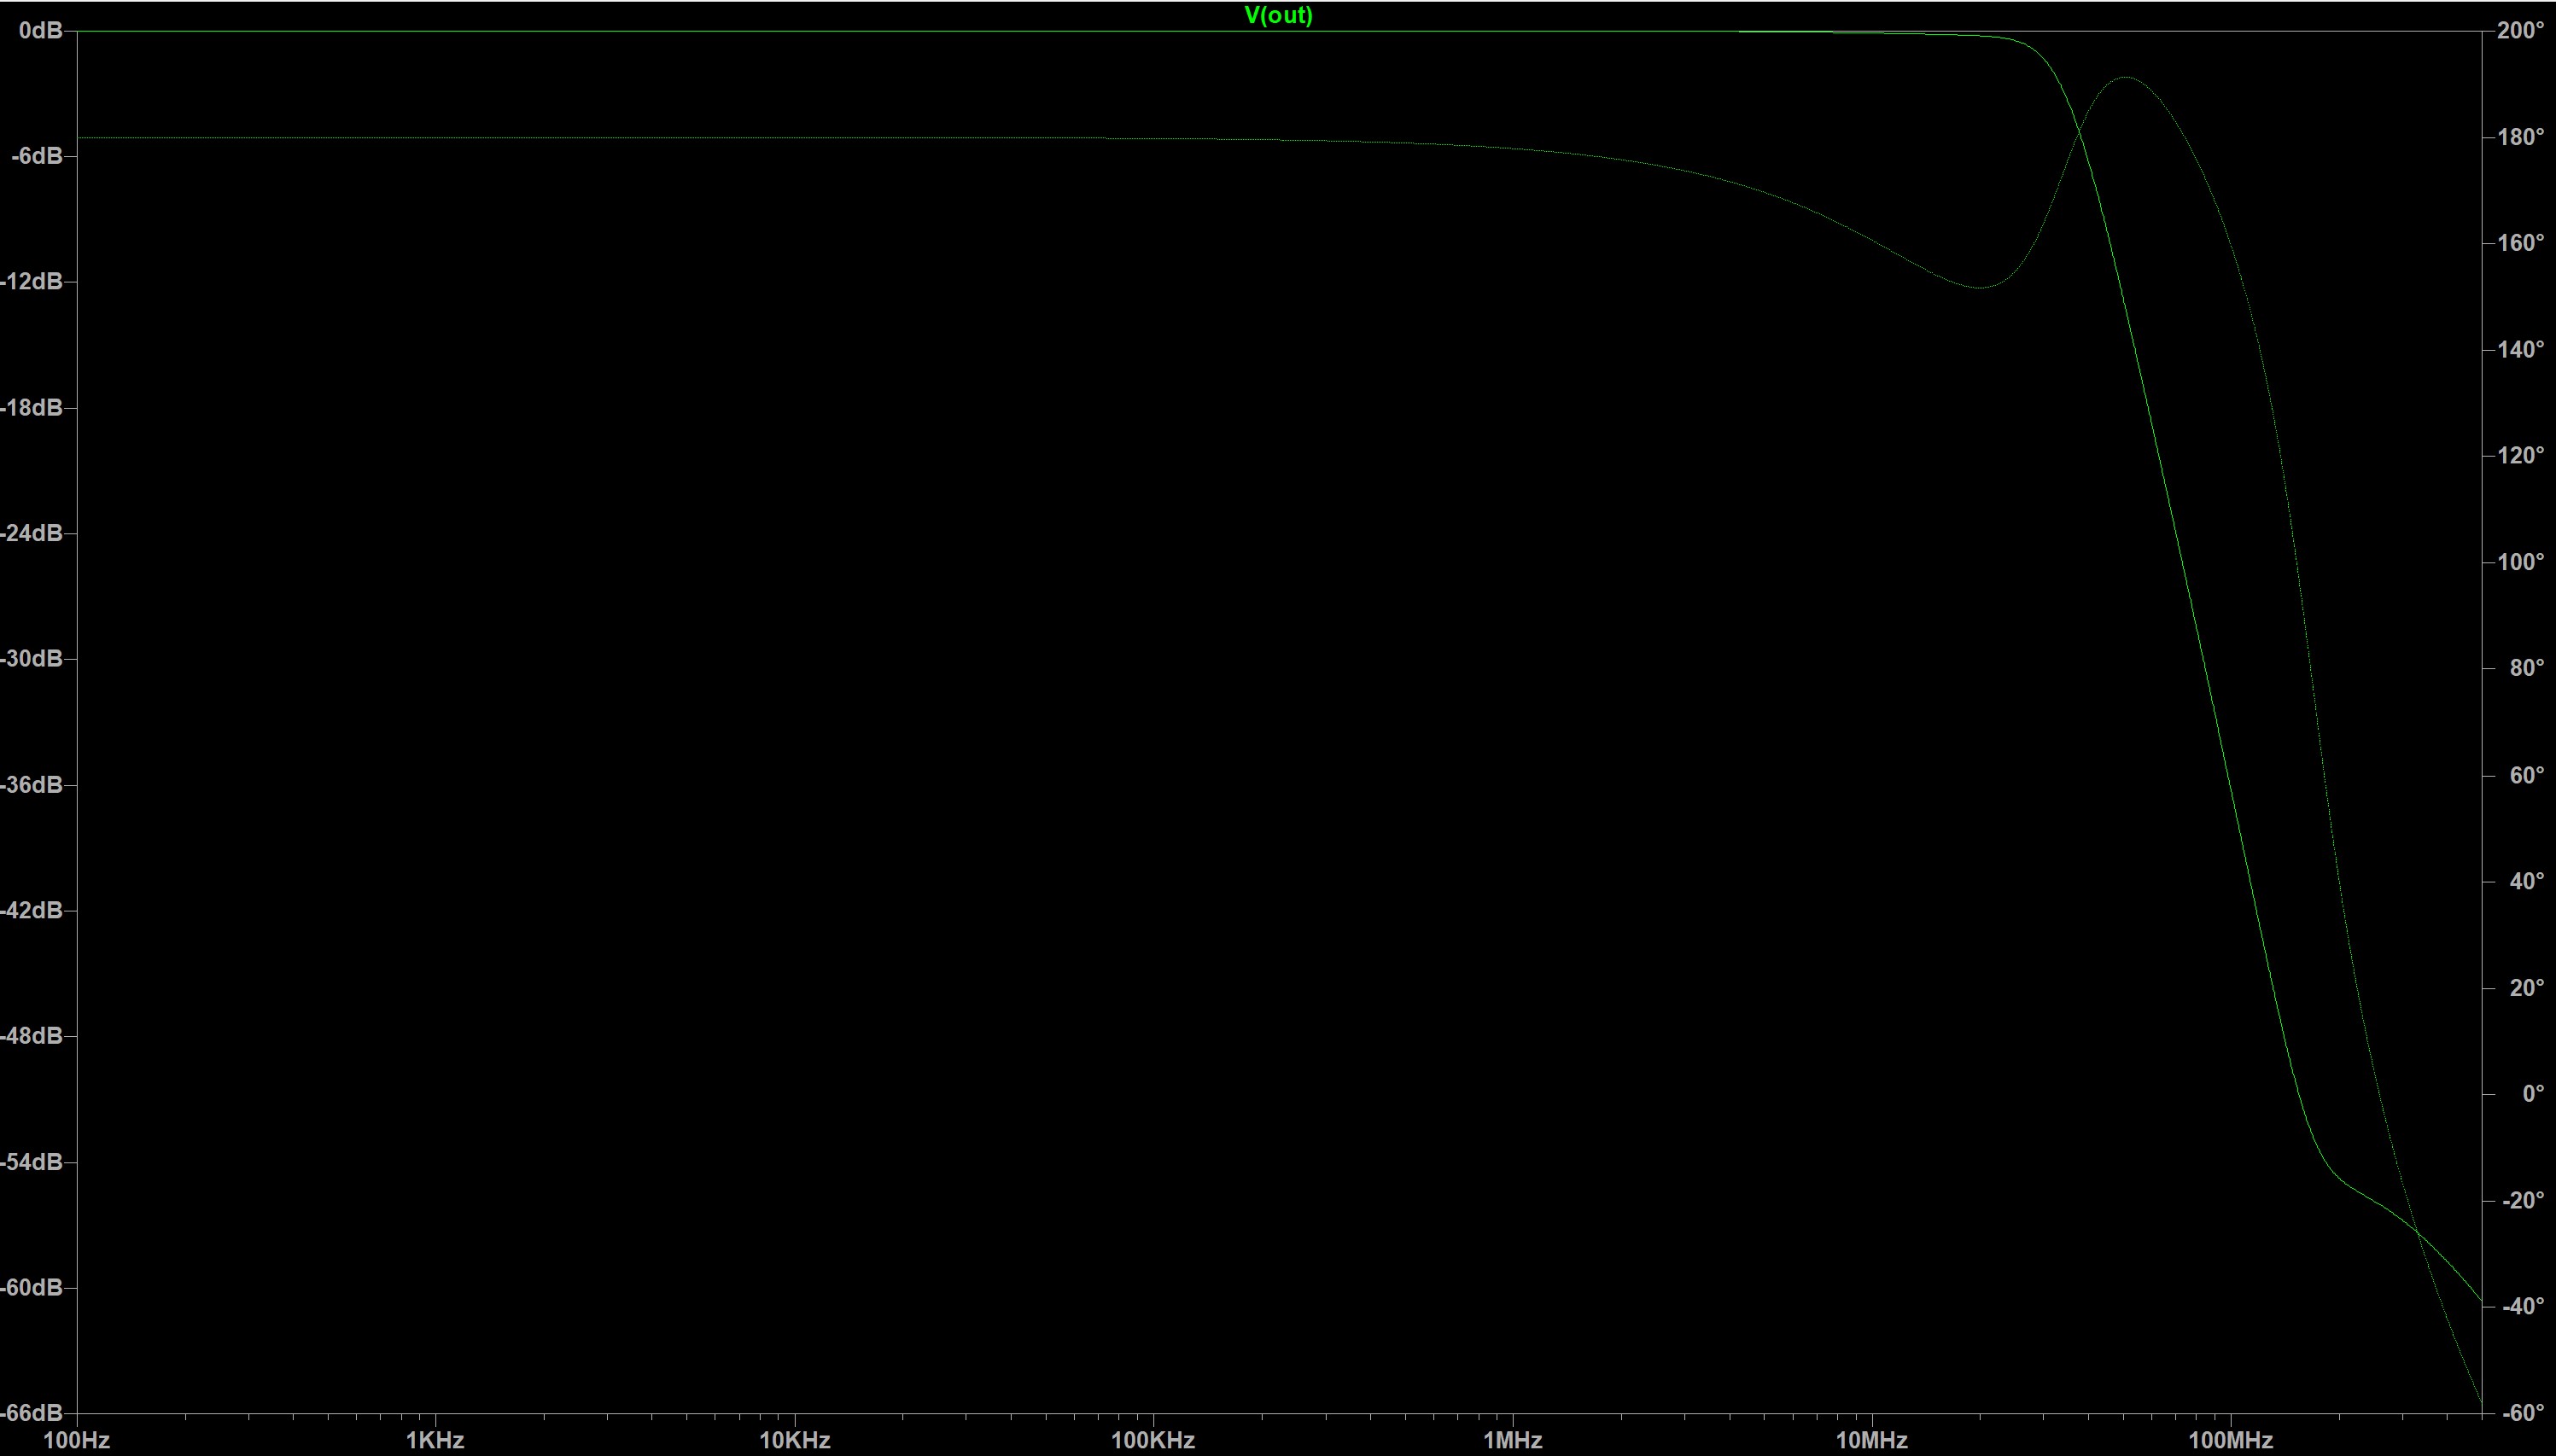
I run some simulations on it. Even with 40dB gain (two stage), I was able to easily achieve the targeted 1MHz bandwidth. I'm still not a real analog guy, so I don't yet know, if the whole concept will work. Here is the simulated (single stage) circuit with 0dB gain:


Added some digital control circuitry for it, and designed a PCB for it.

The control allows me to change the gain from 0 to 40dB in 5dB steps, and switch between AC/DC coupling at the input. I also added placeholder for capacitors, every place to able to handle the stability, if needed.


Now I just ordered the parts and the PCB for this power amplifier section. I still have a few addition in my head for this instrument, but I'll just build the amplifier itself, to check the performance. The other things come later:

  • Power supply for the analog parts (+-15V/300W)
  • Power supply for the digital parts (+5V, +12V), and fan controller for the cooling fans (Amp, Analog PSU)
  • TrueRMS converter, automatic range switch, ADC - for measuring voltage/current on the output
  • Control processor board
  • Front panel (LED display, buttons, rotary encoder, or just using a small TFT originally made for 3D printers)

Yes, maybe I overthink, overcomplicate things 😁

2022. augusztus 26., péntek

Rack mount power amplifier 1.

Another idiotic (never finished???) idea of mine.

As I go back to build audio equipment and bought enormous amount of old audio gear, I eagerly need something to test it in my lab. I started to build my test equipment into 19" racks (than disassembled everything. 😂)

For testing, I need a set of speakers, and a power amplifier.

Requirements:

  • Built into a 1U rackmount enclosure (I hate things on trays in the rack)
  • Use modul parts: Switching PSU, Class D amplifier board
  • Put all of the connectors to the front, to be easily accessible
  • Optional: back connectors with front/back switch

Ordered:

  • 500VA 24V PSU - $16.45
  • TPA3116 120W Class D board - $10.71
  • 1U Rack Chassis - $44.82 + $56.73 (Shipping)

Whaaaaat?????

No way.

Once more:

  • 500VA 24V PSU - $16.45
  • TPA3116 120W Class D board - $10.71
  • 1U Rack Chassis - $44.82 + $56.73 (Shipping)
Think a bit, look around.
Buy the chassis locally
  • 1U Rack Chassis - $50
Whaaaaat?????
No way.

Next iteration:
  • 500VA 24V PSU - $16.45
  • TPA3116 120W Class D board - $10.71
  • 1U Rack Chassis - $50
Look around more thoroughly:

I found quite a few outdated or broken 1U network switches. $12-$15 each

Much better.

The things arriving:

The Amp:

The PSU:

The Switch for repurpose:


My new A3 printer and sheet laminator is on the way to me. So the plan is to throw away the parts from one of the switches. build the connectors, volume pot on the front of the switch chassis or add some holding consoles (probably 3D printed) and design a new front panel, print laminate, cut and finally glue it with a double sided adhesive tape.
This is the plan. Looks super fast to me. Hopefully not another half baked, shelved project.

2022. augusztus 21., vasárnap

IC sorting, project idea?

In the last few days (rather weeks), I was playing with the ICs I have.

I want to have a kind of catalog on the things I "collected" during the last decades as electronics parts. Mostly on ICs. Actually I always have problem, when something pop out of my mind. I always look for new parts, instead of looking for my parts bins, what I already have.

I started to assemble an Excel list of ICs. There is already 432 rows in it and counting (not too much more, I guess could be additional 20-30 types in some project boxes). Hunting for datasheets, I think, that I'll be able to finish by end of next week.

During the inventory process I run into an interesting thing.

Probably you know about the family of digitally controlled analog switches (like CD4066). It has 4 analog switch in a single package.

What if, you have an IC containing 128 switches (organized in 8x16 matrix) in a single package, controlled digitally, even have separate negative supply, to allow the switched analog signal go bellow the ground? This thing is Mitel MT8816 (DIP-40 or PLCC-44 package).

If you have such thing, what would you build from it?

If you have lot of it, what would you build from it?

Actually I have altogether 172 (162 DIP, 10 PLCC) piece of it. I'm looking for project ideas. Yes, on the side of the obvious to build a 16 in 8 out audio crosspoint matrix for drive various amplifiers, tape recorders, etc.

https://www.futurlec.com/Datasheet/Zarlink/MT8816AE.pdf

2022. június 16., csütörtök

New Arrivals 7.

It's been a while since I wrote about, what is arrived, so this will be long.

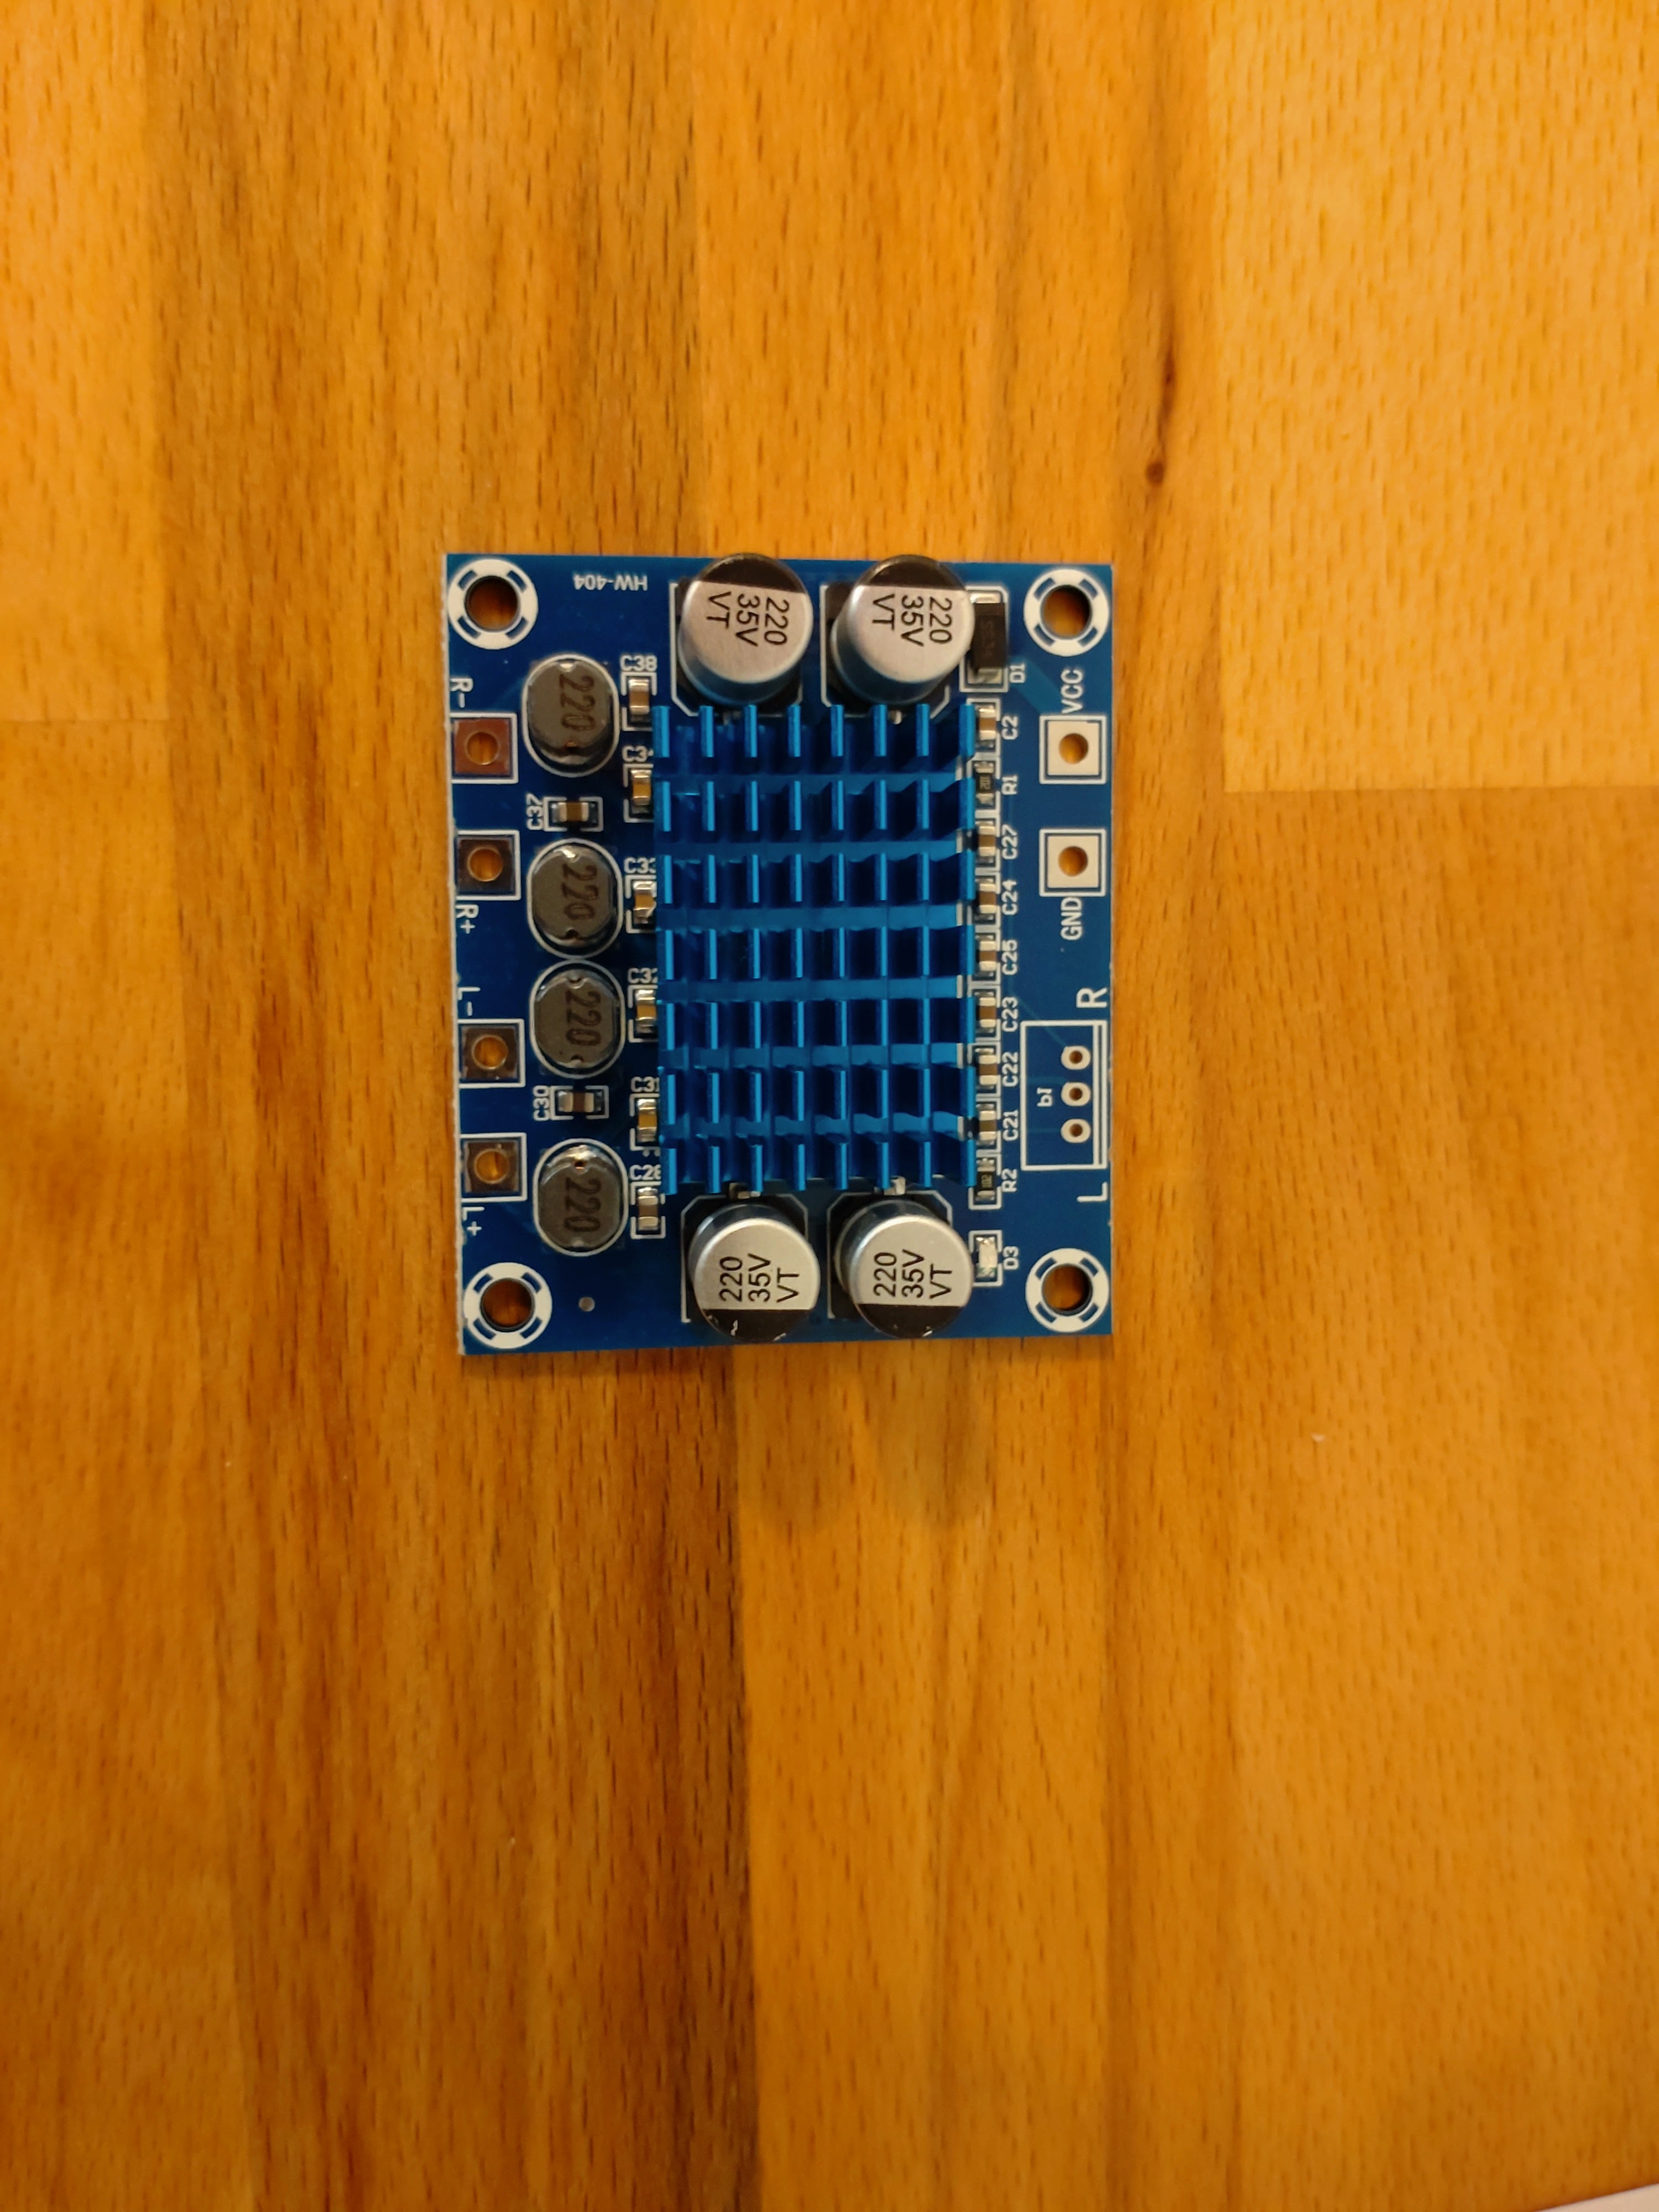
Power AMP board

I bought a few 2x30W D Class amps. It cost $1.73 each. Actually I have a yet secret project, where I need it (just one, but bought 5, who knows, when it is needed)

Loudspeakers

Also for the project above. Four full range 3" Aiyima loudspeakers. I don't know if they are any good. I just hope, it will be good enough.


Akai AT-52

I've a project, I put a bit aside. Some of the people know me, knows that I'm a kind of collector for the old Akai Hi-Fi gears. The project is to repurpose the Akai AT-A1 tuner to a network audio player. I've a big setup of the "A" series equipment (VS-304, AV-U8, AM-A3, EA-A7, DT-A2, AT-A2, CD-A7, GX-R66, GX-R88, GX-R99, AP-A2). I feel it would be a great addition to this set.

Nowadays, I found an entry in the international Akai group on the Facebook. Somebody built a similar thing for the "Reference Master" series. "Accidentaly", I also have a Reference Master set. So I can't resist to order an AT-52 from the eBay for $8. The same unit he used for the project. Now I have it, I'll put on the list of future projects also.

Here is the link for the unit I seen. The video is somewhere in the comments. If you are not a member of the group,  you will not see it! Sorry.
https://www.facebook.com/groups/582950145140634/posts/4288775054558106/


Gimbal parts

I was writing previously about my gimbal project idea. The things I ordered for it, arrived.

The gimbal itself.


The remote control radio board.


And the unexpected. This little fellow was in the Electrodragon package arrived. I guess, by accident. I don't know, what this is good for, but I intend to figure out later.


VFD

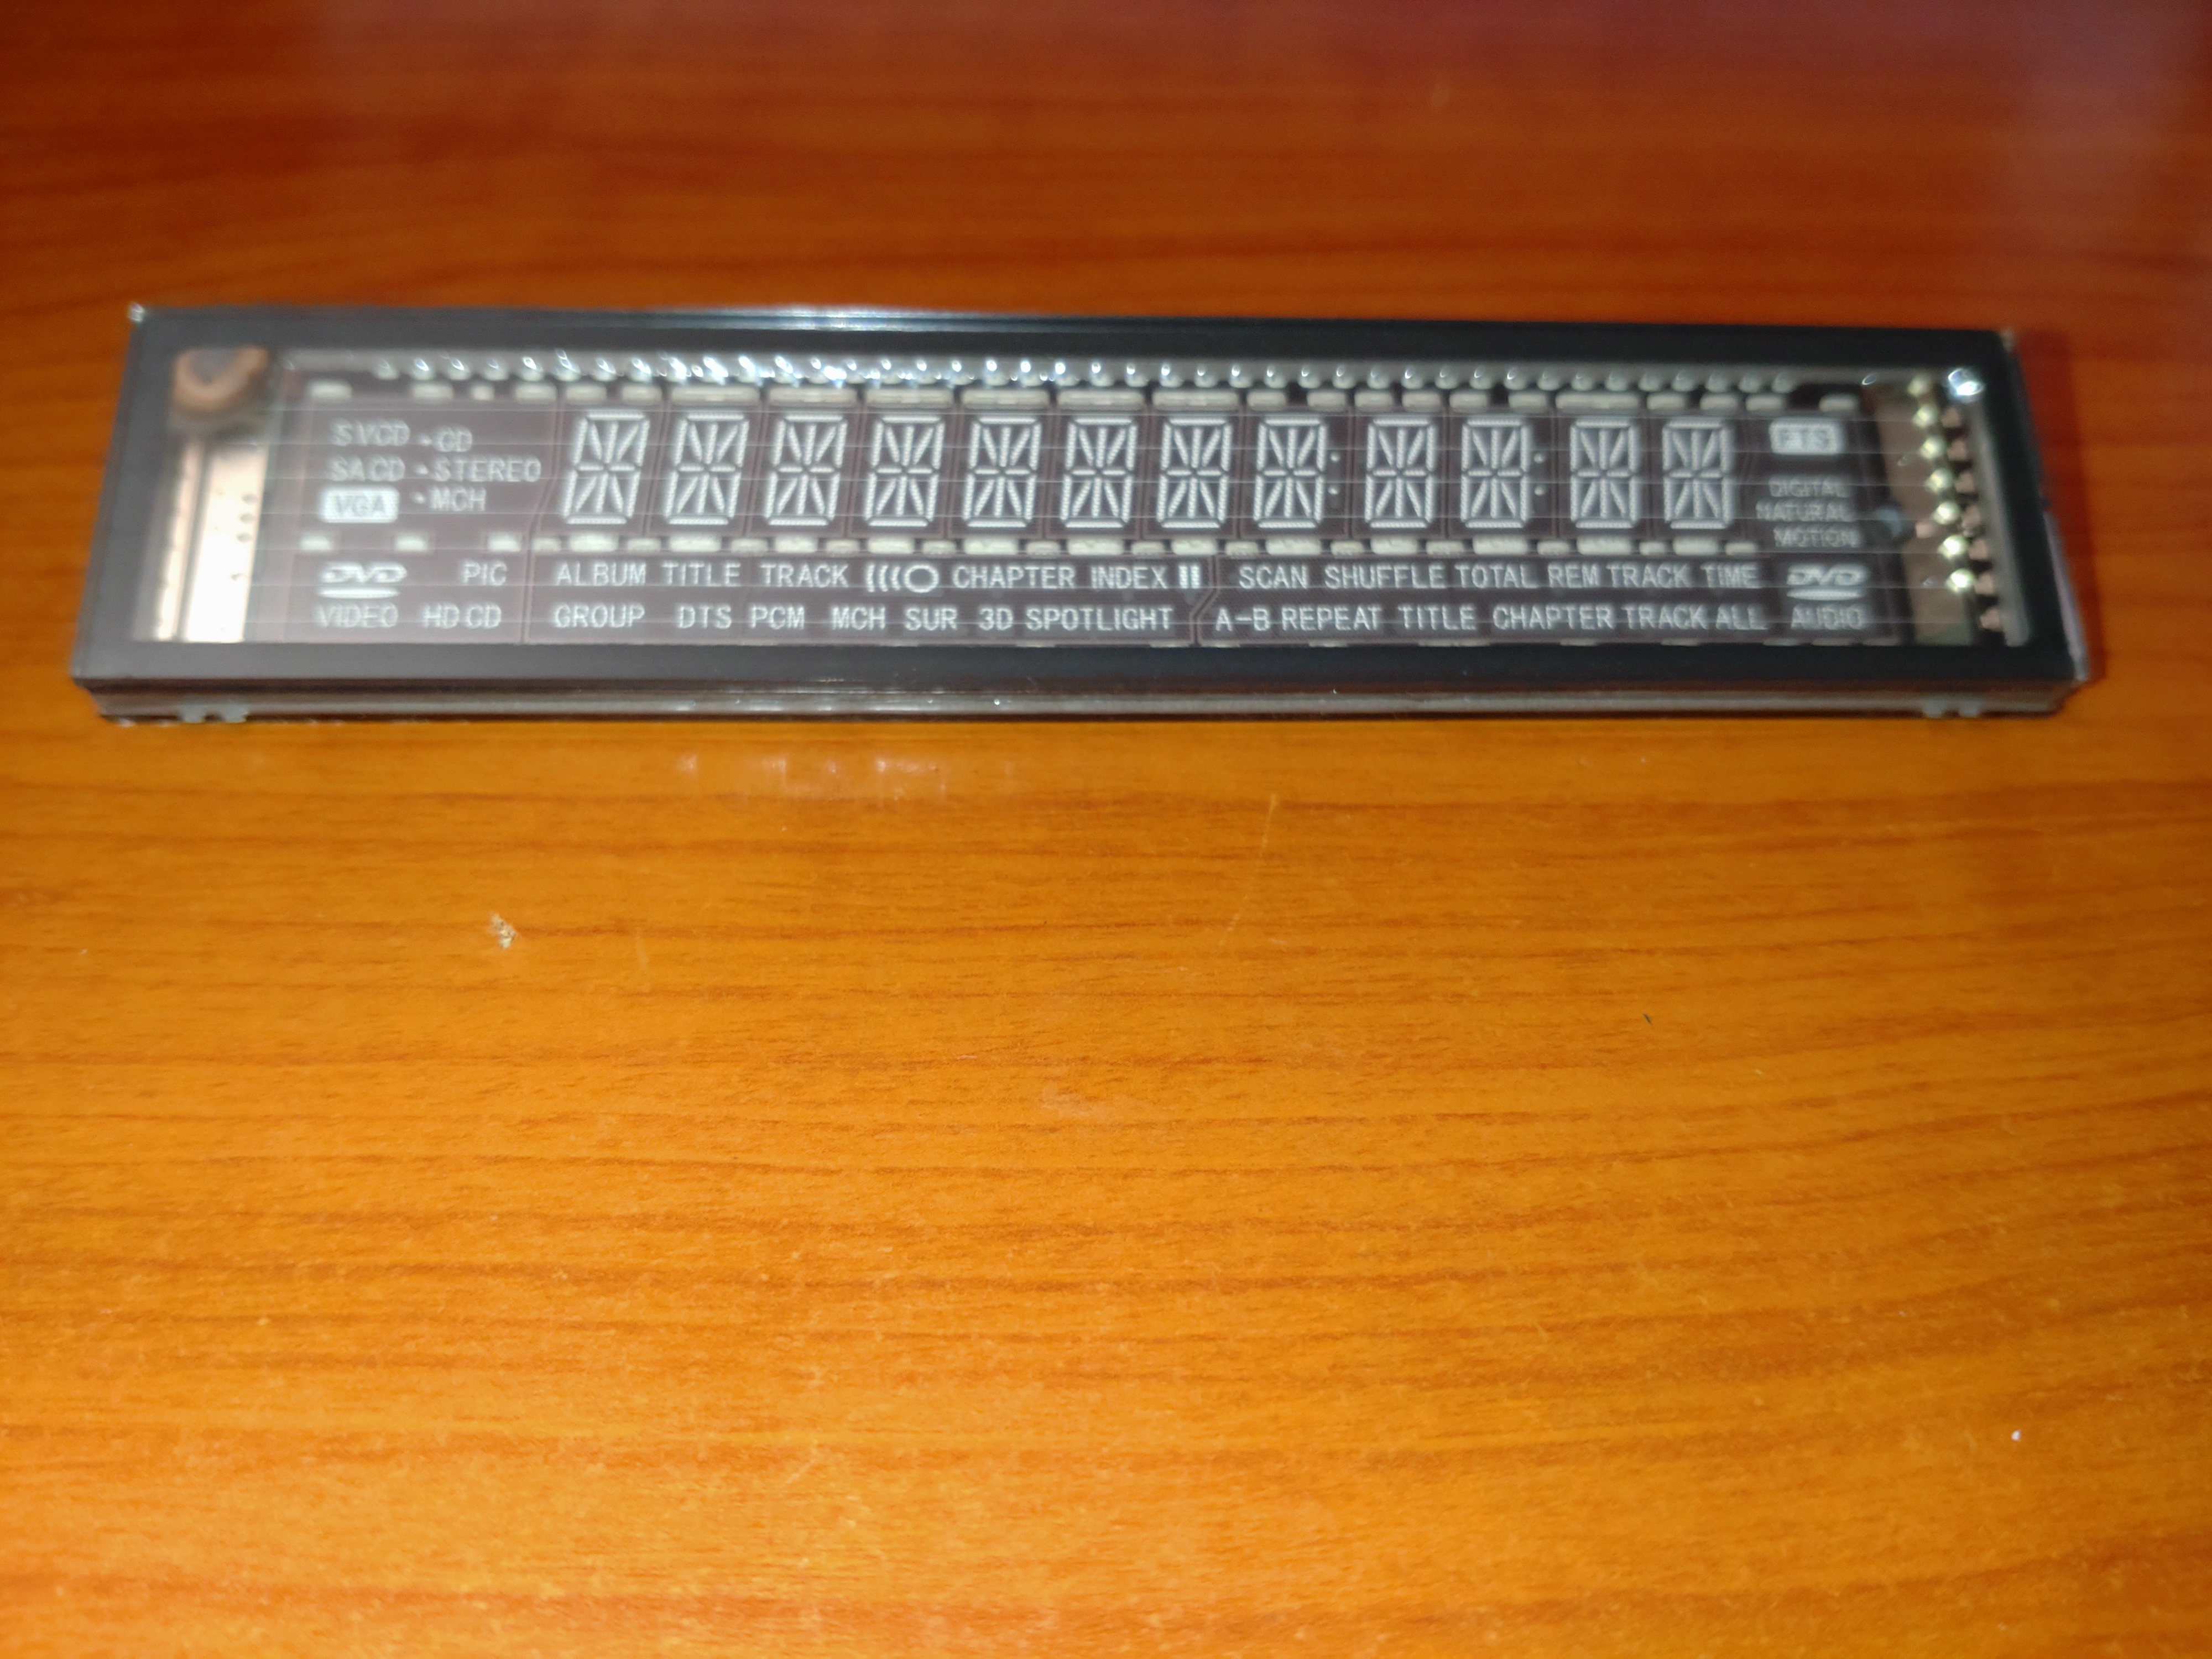
Somebody was selling a bunch of nice VFD displays for just a few coins (around $0.5 each). So I bought ten of it.


Looked around a bit and find a suitable driver IC PT6324. Ordered from Aliexpress, it arrived also. Some design and build will follow in a separate post.


VXI function generator

I have several VXI mainframes already. Even function generator in it. But I couldn't resist. Bought an HP E1340A for $30. Brand new, in it's original box.

Nuvoton Dev kits

Postponed, but not forgotten project of mine to build a decent, new generation for my GPIB interface. Until now I built it based on ATMEGA328P + CH340G and an other version on ATMEGA32U4. Both using USB-CDC and the Prologix protocol.

During my later research I realized, I may utilize USBTMC for the interface. Yes, probably this still can be achieved with the 8bit AVR. But, would not be more fancy to use 32bit ARM for this?

The problem is that most (almost all) of the ARM MCUs built with 3.3V power and logic levels. The GPIB is still a 5V business. Yes, you can find ones tolerate 5V signals - but not generating it. If it come to the integrated USB requirement, the picture is even worst.

The only manufacturer I know, who added automated level shifters on every GPIO pins of the ARM MCU (only for Cortex-M0) is Nuvoton.

Previously, I played with Nuvoton MCUs with some success, until the CooCox IDE development and support completely dead. From that moment any free development platform seized to exists for Nuvoton MCUs.

A few years passed, and things happened:

  • Nuvoton created his own Eclipse based free IDE
  • Started to sell MCUs and dev kits directly on their web site.

The project above come into my mind, so I blow the dust from my old dev kits. Than I realized, the one I intended to use for this project is faulty. Unable to finish even the MCU initialization sequence.

This were the point, when I ordered new dev kits and MCUs for this project directly from Nuvoton.  They even provide 90% off from the first 5 MCUs from each type as sample. Those arrived also:


Pomona clips

Find some nice Pomona test clips locally for SO chips. These are never enough, so bought it.


Color headers

When I build something on a breadboard, it is always a struggle to connect to the external word. Specially for power connections (No I don't mean those nice breadboard capable power supplies. Those are only good for logic supply.). What if I build a small box with pin headers and banana sockets. If I do it this way, I need some color coding. So here a few colorful pin headers for this.

Magnifier

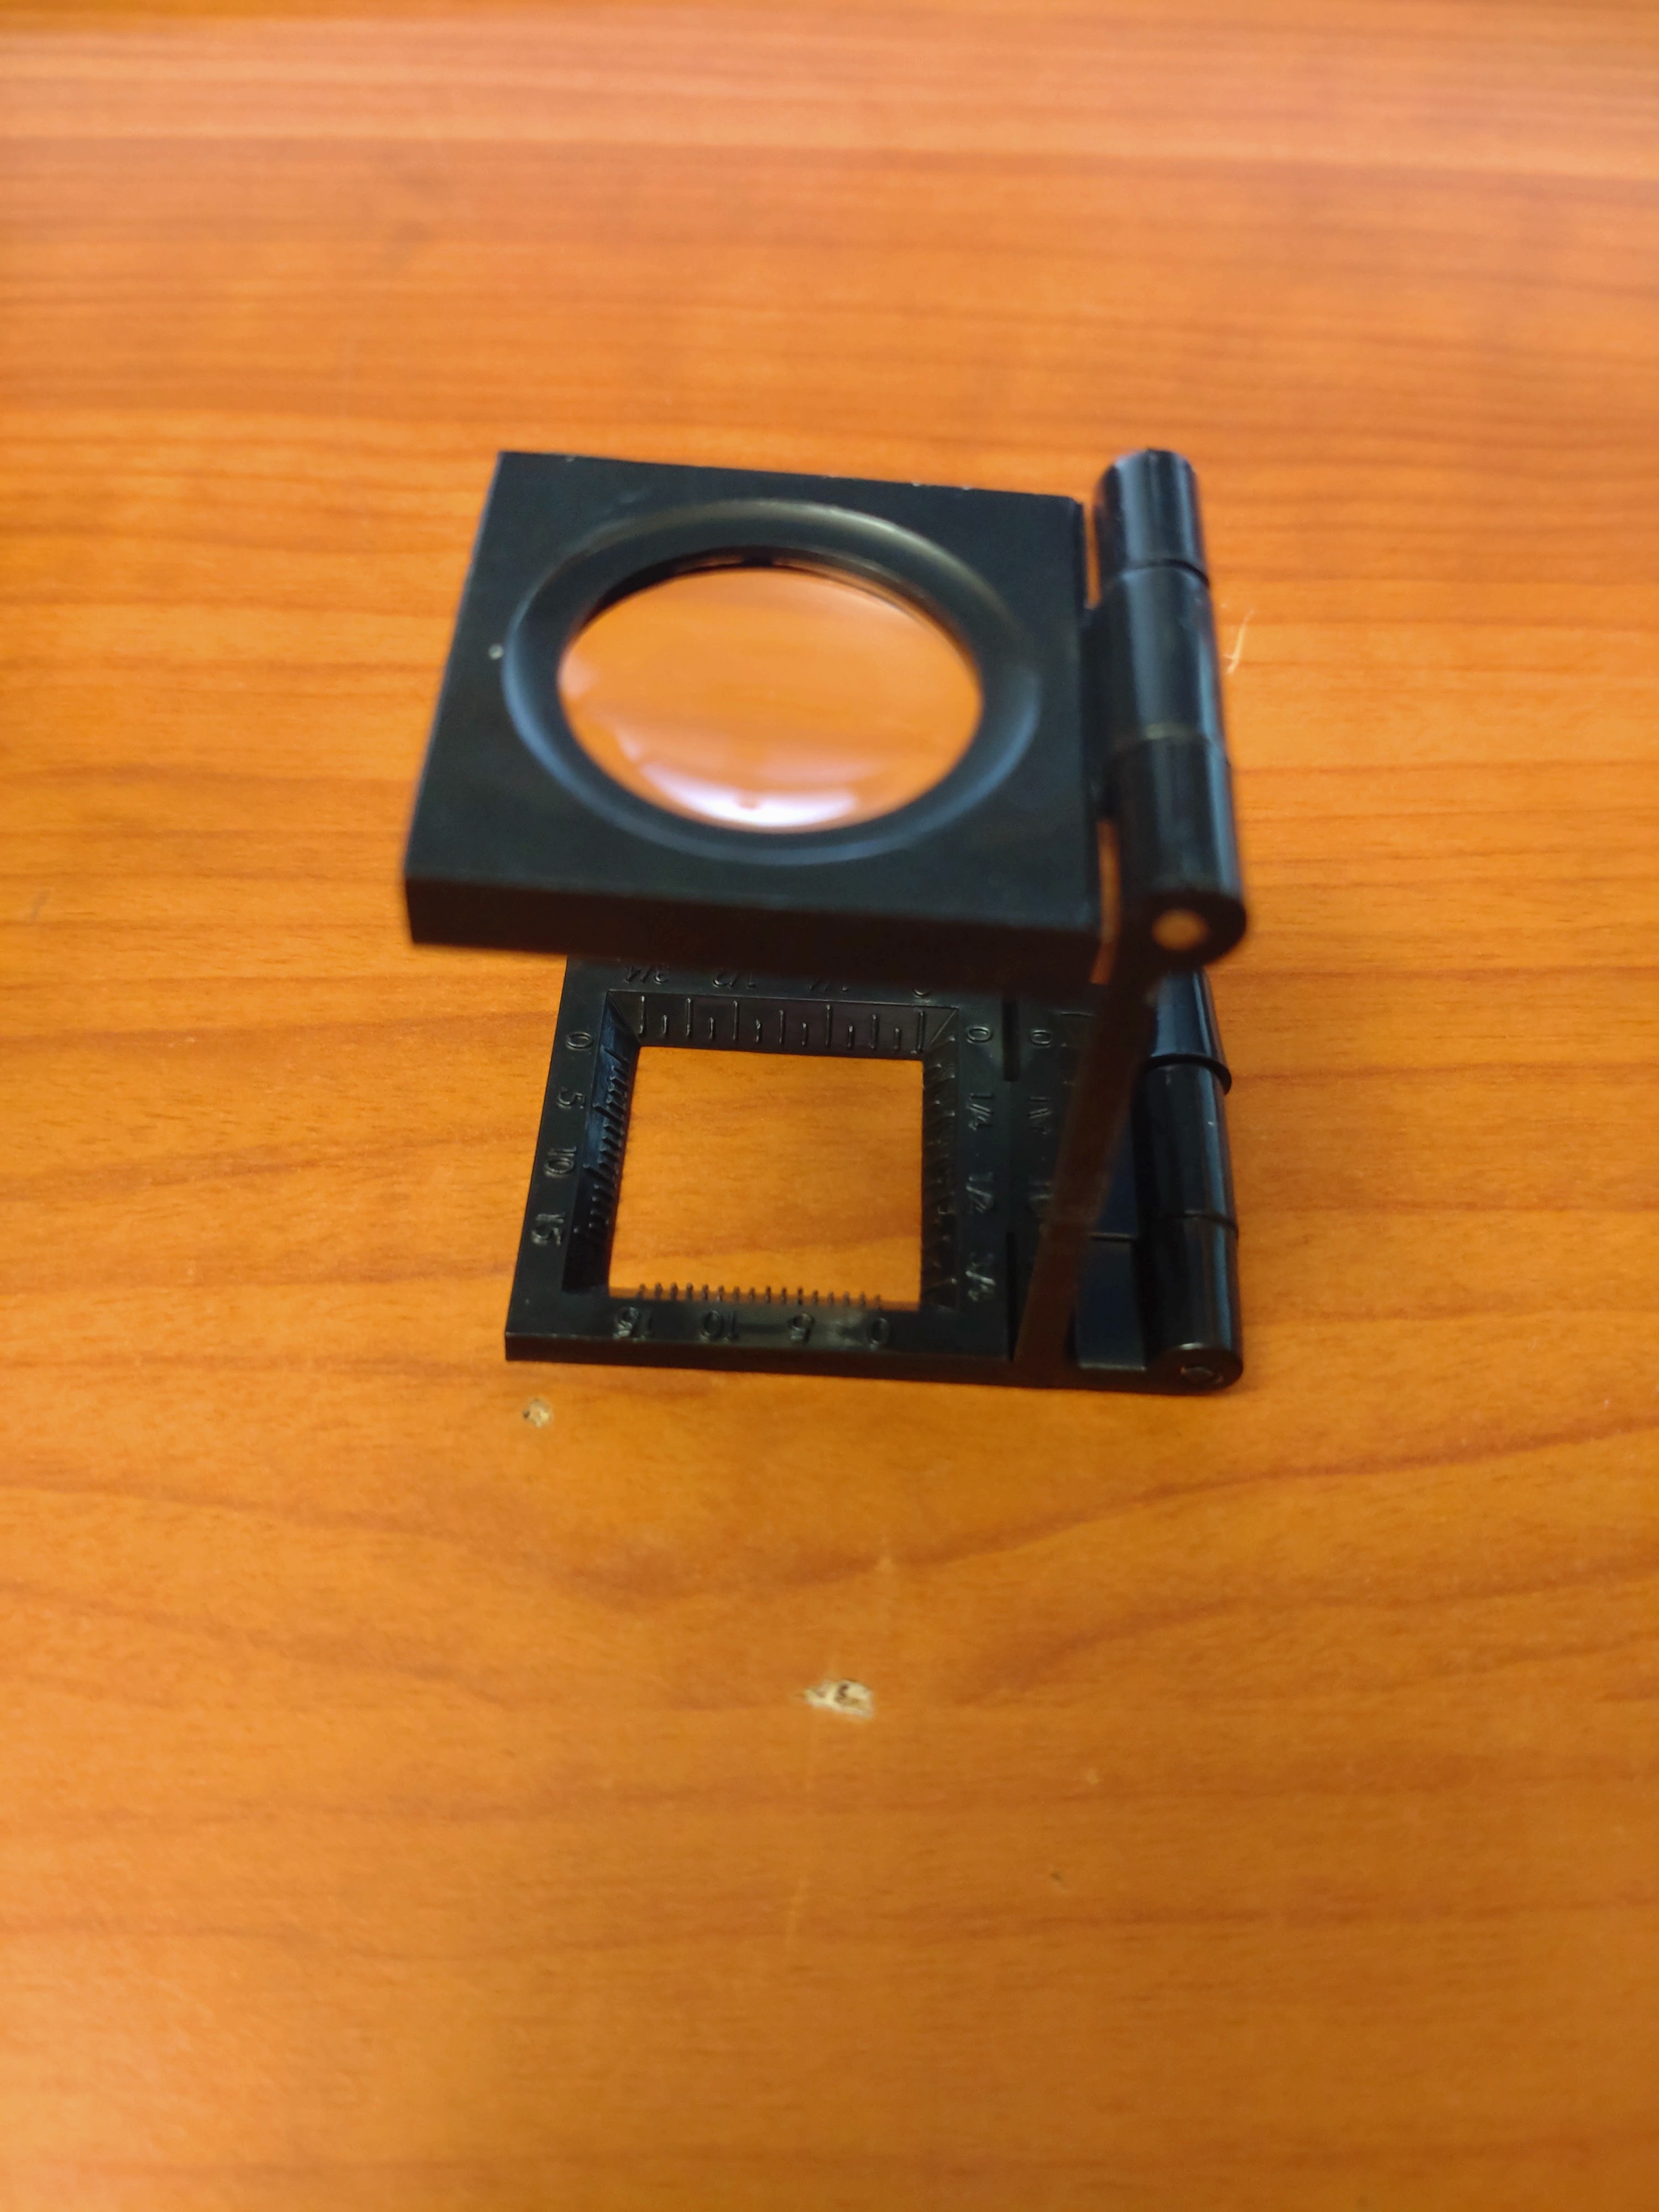
Have you ever had some equipment, what accidentally always fall into your hands when you need its functionality? Not because it is the best in its class, or whatever. Just because you feel it is best for you in that moment. For me, one of this things is a tiny folding magnifier. I have one for decades already. It was just a marketing gift.

As it serving me for long while, just pop into my mind: Why I don't try to find it online and buy a few to keep it around wherever I go. Found it on the AliExpress, so it is here now.

Door lock

This little fellow, you can find on many electronic equipment, mainly on the doors hiding additional buttons and knobs. I also needed it for my secret project mentioned above.


HP 3457A

I looking for it for a long time already. Usually find it on the eBay for high price, and from the other end of the world with horrible shipping cost.

I just realized this unit is selling from Hungary on the eBay. I had a hunch. I didn't know the seller profile but it felt like the guy I bought my VXI things and the Panasonic FM generator.

I wrote to him on the messenger. Is this yours?

The unit was in my hands two hours later.


From the desktop multimeters, never enough. 😆


2022. június 15., szerda

Fluke (Philips) PM3082 Oscilloscope Repair 2.

The junk scope arrived. Yes it is a junk. At least mechanically. The front broken, few knobs also, the screen frame missing, the enclosure bent here and there.
Also it doesn't work. The low voltage power supplies looks OK, but nothing on the display, except the illumination. Even doesn't respond to the knobs, no startup beep.
Anyway. I wanted to quickly check my theory, that my original scope has probably a single failure on the processor board and no other problems.
So I gave a try. Swapped the processor boards.
Bingo.


The unit is working. At least it give sharp image, respond to the knobs/buttons. Didn't had time to check it further, but this is promising.
Here come the question:
Is it worth?
Worth to try to repair the other unit? Find missing knobs, print a new frame, glue the broken things, try to repair not just the processor board, but the other things could I face during the attempt.
I have some internal pressure to challenge myself, but ...
I don't know. We will see.