
This is just a short title of this article. I would rather call it: "Octoprint in those chip shortage times"
Today it is not so easy or cheap to acquire a good platform for Octoprint. Raspberry Pi almost seized to exists. If you can buy it somewhere it cost a lot.
I'm a DevOps guy nowadays for profession. I fell in love with the containerized (and orchestrated, cloud based iaC) infrastructures. The Octoprint is a good candidate for this, as itself is unable to handle more than one 3D printer.
Actually I've several tasks in the lab, what need server side background computing. So, I just picked up an old (not too old) PC from my ceiling (the most important requirement to have a 64bit CPU already).
Installed a shiny new Ubuntu 22.04 LTE Server on it. There is only thing I installed during the setup process: OpenSSH. I don't install Docker from snap, what suggested by the install process. It caused problems to me, so I leave it out for now.
At the first login I switch to root console (sudo su). I do this for comfort. I asked for password once during this process.
Docker
Install docker from docker's repository (instead of Ubuntu)
curl -s https://download.docker.com/linux/ubuntu/gpg | gpg --no-default-keyring --keyring gnupg-ring:/etc/apt/trusted.gpg.d/docker.gpg --import
chmod 644 /etc/apt/trusted.gpg.d/docker.gpg
add-apt-repository "deb [arch=amd64] https://download.docker.com/linux/ubuntu $(lsb_release -cs) stable"
apt update
apt install docker-ce docker-ce-cli containerd.io
apt upgrade -y
Note: If you run it on Raspberry PI the [arch=amd64] should be changed to [arch=arm64]
Static IP
I suggest to fix the IP address of the machine some way. Right now I'm using a pathetically shitty router from the provider, but at least it is able to add static lease to the DHCP service, so I choose this. On the other side I'm not so fortunate with it's DNS service. So with the naming I'll relay on the host file and not a DNS.
Proxy
I'd like to be able to access the services with name, instead of IP address and port. To be able to achieve this, the first thing I install is the jwilder/nginx-proxy, what I use frequently for this task
docker run -d -p 80:80 --restart=always --name=proxy -v /var/run/docker.sock:/tmp/docker.sock:ro jwilder/nginx-proxy

mkdir -p /data/nginx-proxy
Portainer
As I'm using mostly command line to manage docker, it is a good idea to have a kind of dashboard to see, what is happening. I'm using Portainer for this for a long time now. Here is the first time when it advisable to have a folder, or a named volume on the host to map as data into the container. Here I choose a folder for this. It will allow me later to mount some external storage (NFS in a NAS device in my case) to hold and backup this data.
So just add some folder for it (we will need one for Octoprint also, so I create it here also):
mkdir -p /data/portainer
mkdir -p /data/octoprint-geeetech
chmod -R 777 /data
Install the Portainer:
docker run -d -e VIRTUAL_HOST=portainer.it-pro.local -e VIRTUAL_PORT=9000 --name=portainer --restart=always -v /var/run/docker.sock:/var/run/docker.sock -v /data/portainer:/data portainer/portainer-ce
Now try out if our Portainer is working. You need to add the Portainer in the name resolution in some way. Either as a CNAME record to the DNS or the host file in your client machine. In my case it is the later one on my Windows machine (c:\windows\system32\drivers\etc\hosts)
This case I add the following:
192.168.0.10 portainer.it-pro.local
From your browser you can connect to the Portainer and setup your user:

Device file
lsusb -v
This will give back all of the parameters your device have. You can collect the VID, PID and the serial number from it.
My printer report this:

Based on this, you can add the creation of your device alias to the udev rules:
echo 'SUBSYSTEM=="tty", ATTRS{idVendor}=="0403", ATTRS{idProduct}=="6001", ATTRS{serial}=="A903RZMJ", SYMLINK+="ttyGeeetech"' >> /etc/udev/rules.d/99-usb-serial.rules
Reload the rules:
udevadm control --reload-rules
You can check with ls -la /dev/tty* if the device file is in it's place
The udevadm command wasn't work for me (probably disconnecting and reconnecting the printer does the trick), so rebooted the machine, what resolved it:

Octoprint
Last piece of the puzzle is the Octoprint itself:
docker run -d --restart=always -v /data/octoprint-geeetech:/octoprint --device /dev/ttyGeeetech:/dev/ttyACM0 -e VIRTUAL_HOST=geeetech.it-pro.local -e VIRTUAL_PORT=80 --name octoprint_geeetech octoprint/octoprint
One additional line added to the hosts file:
192.168.0.10 geeetech.it-pro.local
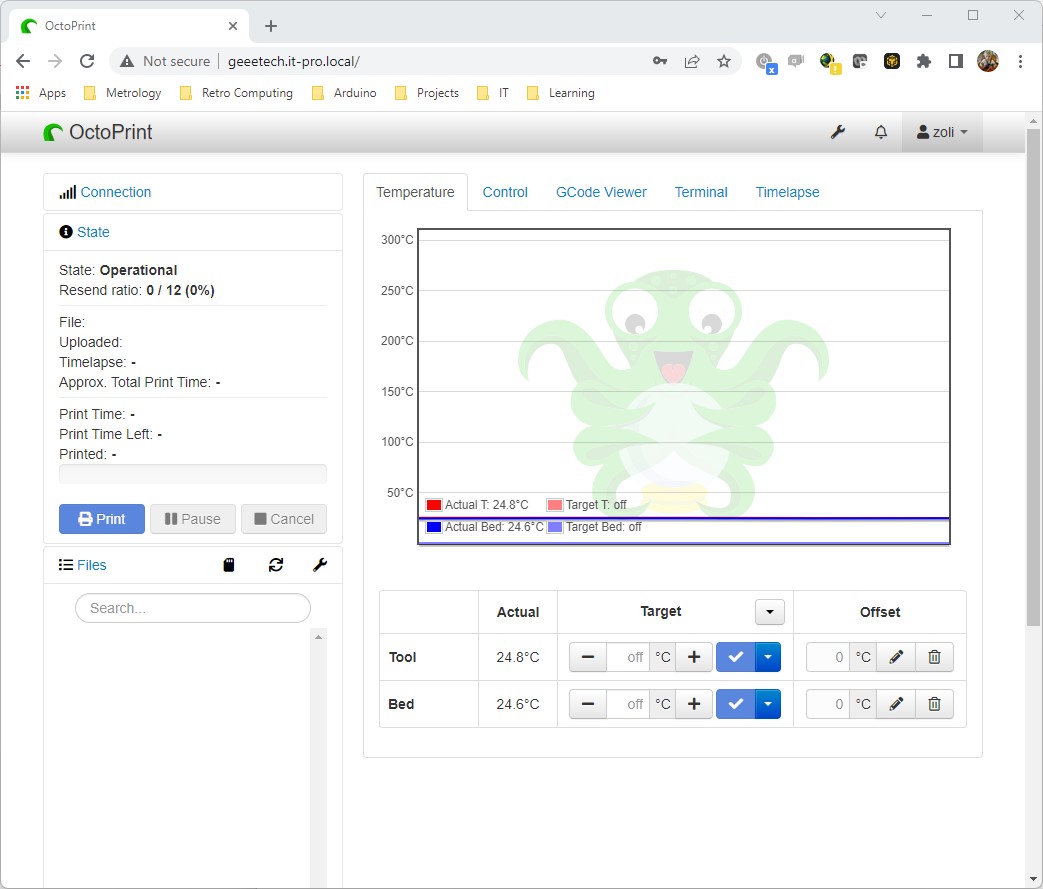
Now you can connect to the Octoprint from your browser:

Nincsenek megjegyzések:
Megjegyzés küldése